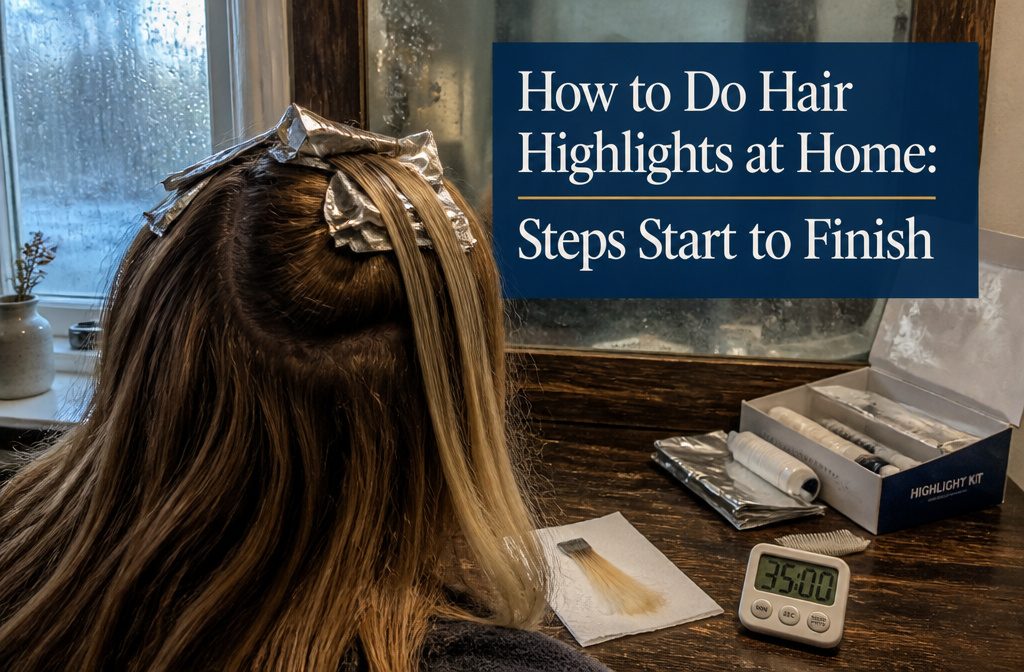
You can finish partial highlights alone at a mirror with a kit, grocery-store foil and a timer, and the stage people get wrong is processing: rinse when a strand looks like the inside of a banana, not when you wish it were lighter.
A box works best on naturally light brown to blonde hair that has never been colored.
1. Decide on a Style
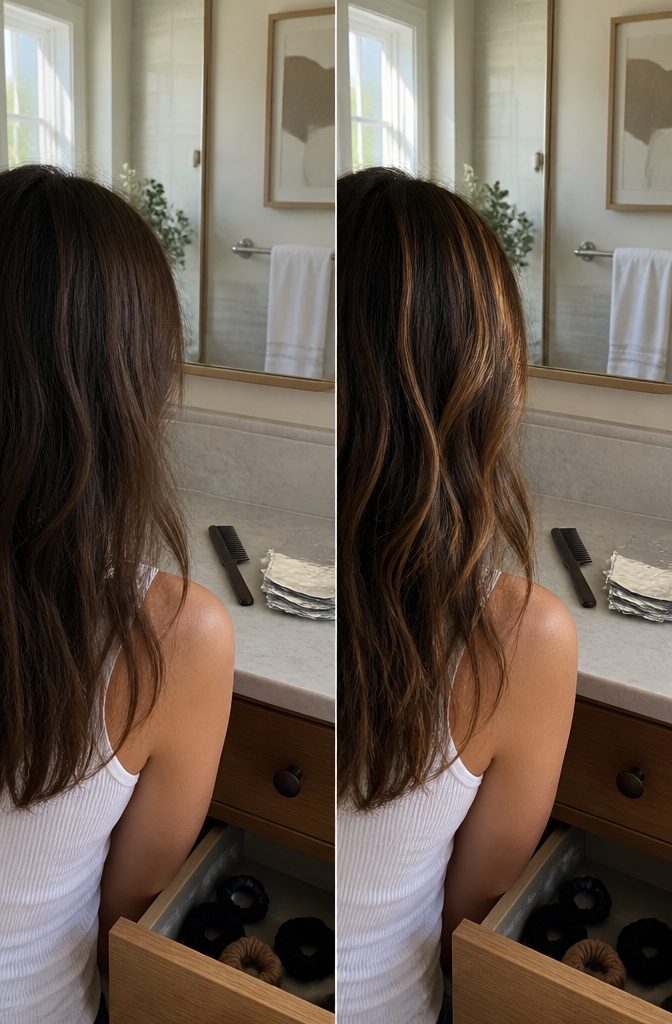
The choice between partial and full highlights is the first one that matters, and for a home project only one is genuinely doable.
Partial highlights stay in front where you can see what you’re working on: sides, top, the pieces that frame your face.
Full means foiling all the way around to the back of your head, which you cannot reach alone and cannot check without a second mirror angled behind you.
The partial route keeps you in front of a mirror the whole time, cuts the processing watch down to one zone, and still freshens the look enough that salon visits drop to once or twice a year.
Thickness comes next. Thinner pieces blend more naturally and read subtler in most light.
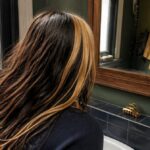
Thicker slices give bold contrast, the kind you see in chunky highlights. Peekaboo highlights tuck color underneath the top layer for a low-maintenance pop that only shows when hair moves.
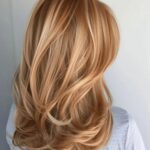
Caramel highlights add warmth on dark hair and tend to need less frequent touch-ups than cooler tones. Style choice dictates where foils go, how often you’ll be back at this, and how glossy the finish looks around your face.
2. Choose a Hue
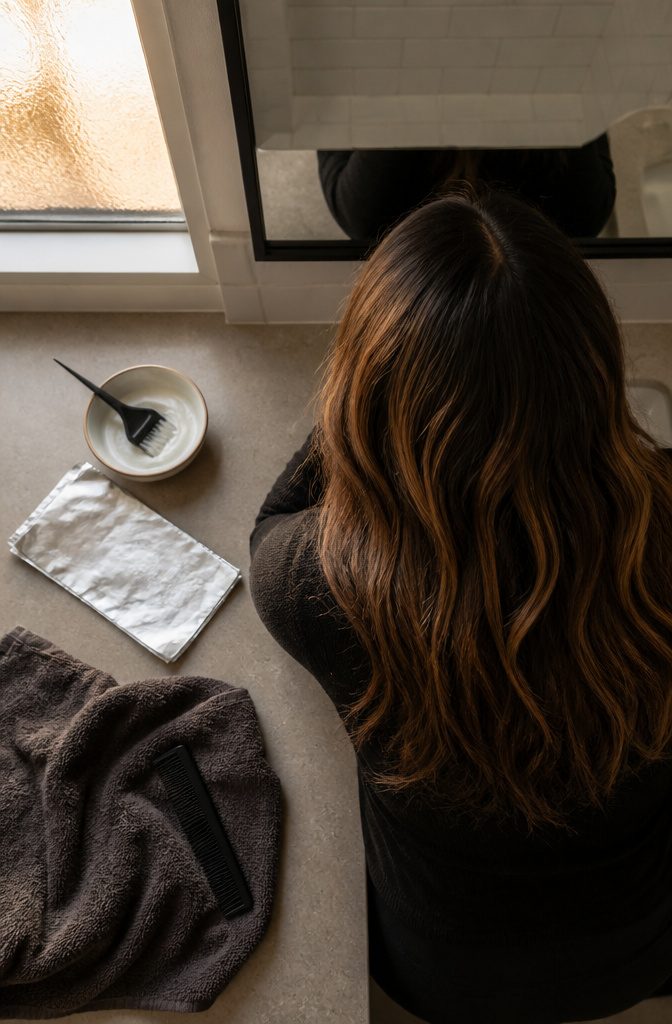
Highlights don’t have to be blonde.
Any shade works as long as it sits lighter than your base; anything darker is a lowlight. Caramel, honey blonde, beige blonde, rose gold, copper and chestnut are the popular picks.
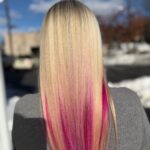
Brown, red, gray or a bright peach suit anyone who wants something louder. Warmer tones give brunettes and black hair a sunlit glow.
On dark hair, go only one to two levels lighter. You get a softer grow-out and less brass.
For an ashy blonde, a purple-based toner cancels the gold and yellow, but it only shows on hair lightened very pale. If nothing happens, the hair was too dark.
3. Choose a Kit
Choose a Kit
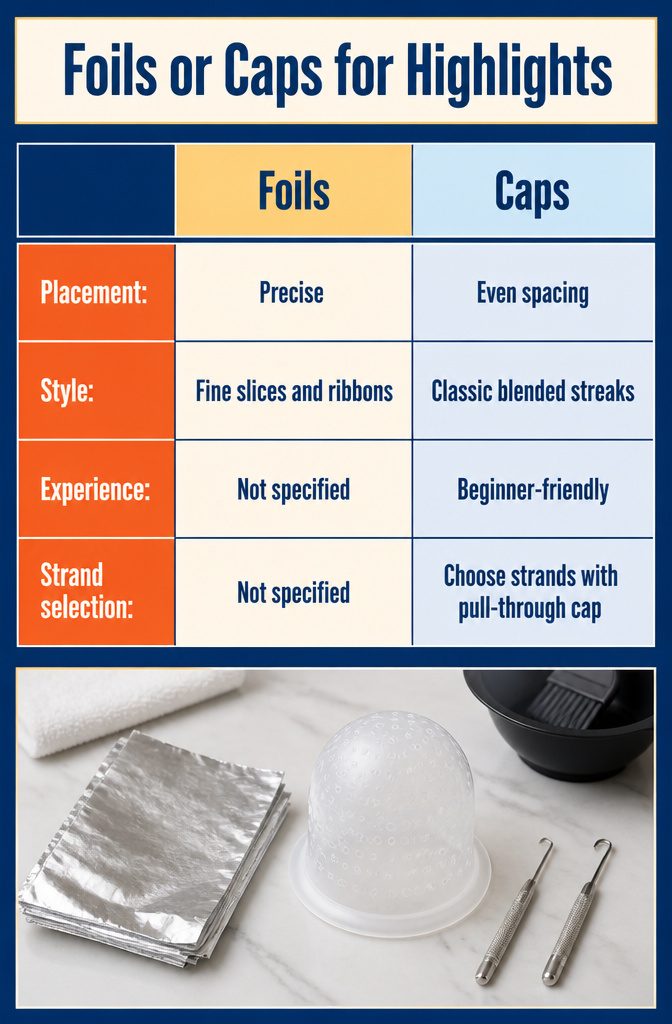
If you’re trying to decide between foils and the cap method, foils offer precision placement and work well for fine slices and ribbon highlights. Caps are beginner-friendly and help keep spacing even for classic, blended streaks.
The L’Oréal Paris Frost & Design kit includes a pull-through cap that lets you easily choose which strands to lighten without accidentally coloring any unwanted pieces, and it comes with two different styling hooks so you can create thin or thick highlights.
I favor kits with pre-measured ingredients because they take the guesswork out of mixing ratios and give you everything you need: gloves, bowls and brushes.
The L’Oréal Paris Féria Hyper Platinum Advanced Lightening System Bleach is an at-home option inspired by the pros. Whichever you choose, follow the kit directions exactly.
4. Gather Supplies
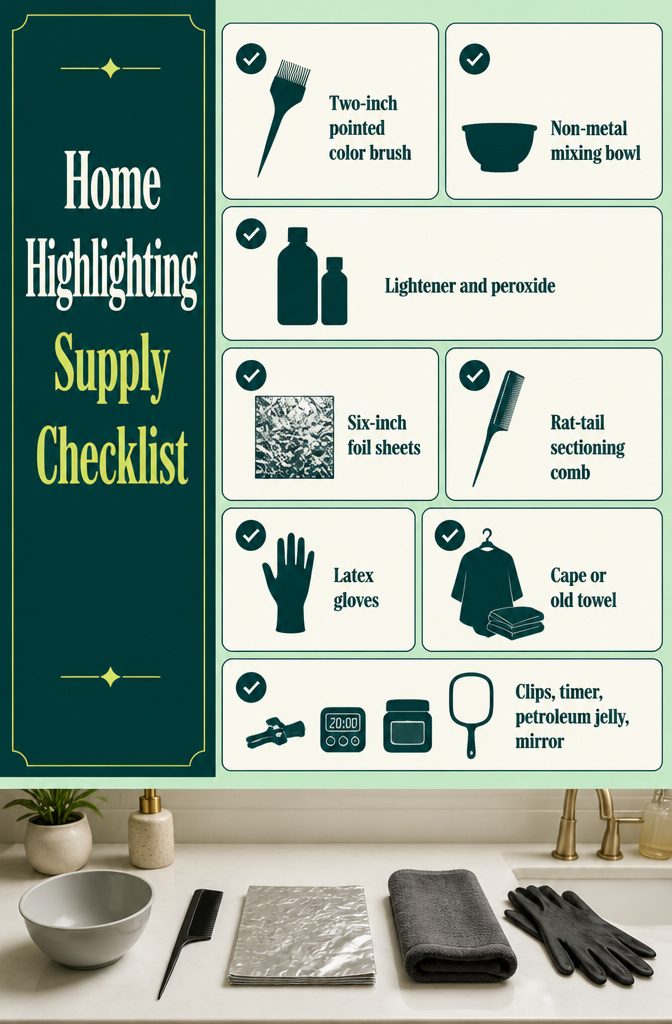
Before you start, have everything ready on the counter so you aren’t hunting for foil mid-bleach with one glove on. Most highlight kits include bleach and developer, but you’ll still need a few extras:
- Color brush (two-inch with a pointed tip for control)
- Mixing bowl (non-metal)
- Bleach and peroxide (Matrix VLight Lightener, 20 Volume developer normally, 30 Volume if using Olaplex, or 40 Volume for resistant or coarse hair)
- Foil (grocery-store foil cut into 6-inch-wide sheets)
- Rat-tail comb (for sectioning and weaving)
- Latex gloves
- Cape or old towel (to protect clothing)
- Sectioning clips
- Timer
- Petroleum jelly (to protect your hairline and ears)
- Handheld mirror (to check the back)
If you’re using Olaplex No. 1, add 1/8 oz per 1 oz of lightening powder, then add developer until you reach yogurt consistency.
Mix 1 or 2 oz at a time so the bleach doesn’t puff up in the bowl. Work in a well-lit, ventilated room, start with clean hair free of product, and keep bleach away from skin and eyes.
5. Do a Strand Test
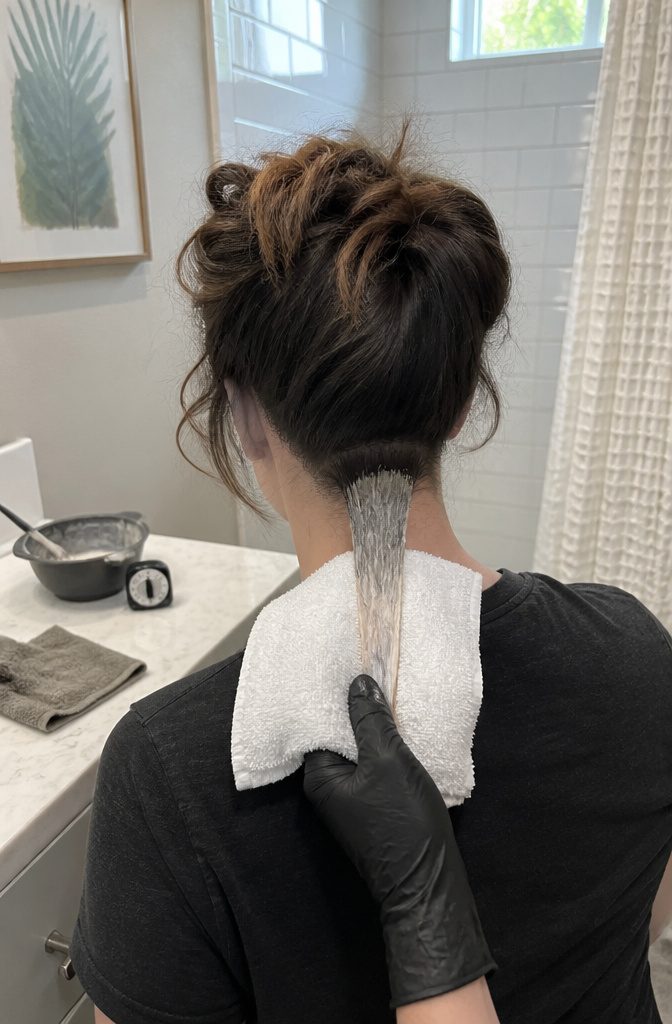
Before you coat the whole head, test a hidden inch-wide section at the nape with the product mixed exactly as you plan to use it.
Apply it starting an inch from the scalp, the way you will on the visible pieces, and let it process for the full time the kit suggests.
This catches disaster while it still matters: if the test strand snaps when you stretch it gently or feels gummy and dissolves under running water, the formula is too strong for your hair and you need a gentler developer or a different approach entirely.
Rubbery texture means the bonds are breaking down faster than the color is lifting, and proceeding anyway turns breakage from possible into guaranteed. The ten minutes this takes replaces hours of damage control.
6. Section the Hair
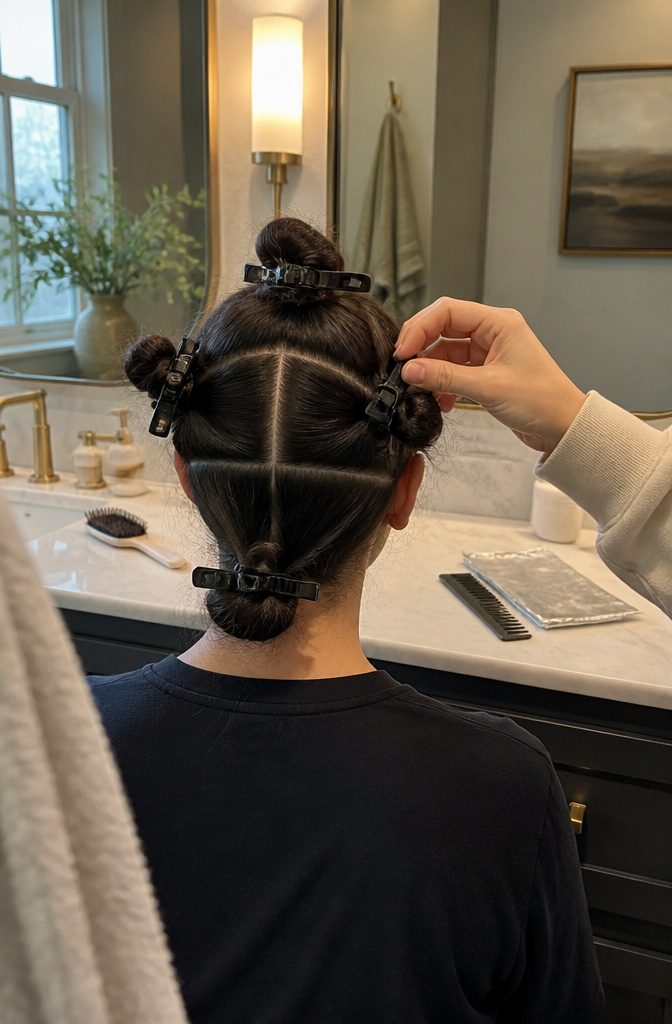
Four to six sections work for most heads, depending on how thick and long your hair is. More hair means more sections, but even if you’re only highlighting part of your head, sectioning keeps the whole process organized.
I clip everything out of the way so each part is easy to reach when it’s time. Follow your natural part for placement that looks lived-in, and if you want brighter lift, take thinner slices within each section.
The setup is simple: divide from the middle of your eyebrows up to the crown for the top section, ear-forward on both sides, and the back as its own section.
That gives you four, which covers most people. If your hair is especially thick, add one or two more so you’re not fighting a heavy section mid-process.
7. Apply the Color
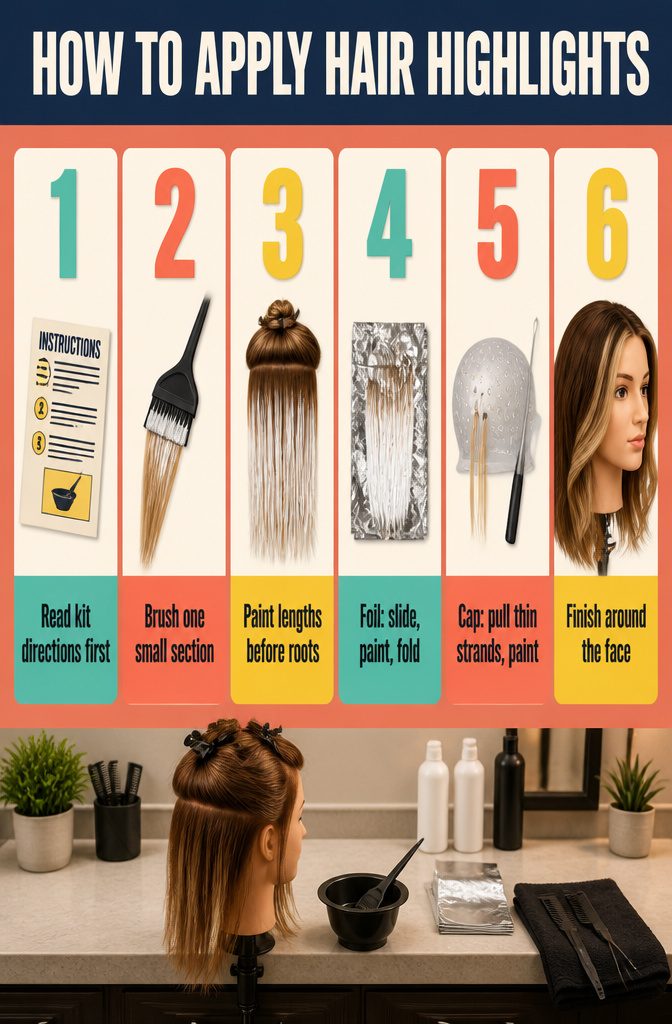
- Read your kit’s instructions first and follow them over any general method. Timing and mixing differ from box to box.
- Take one small section at a time and brush the color onto individual strands with a dye brush.
- Paint the mid-lengths to the ends first. Roots come last, once the lengths are covered, which gives a softer, more blended grow-out.
- For foil, slide a sheet under the strands you picked out with a weaving comb, then paint and fold it shut. Cut sheets about 6 inches wide from plain grocery-store foil; they don’t need to match.
- For a cap, pull thin strands through the holes with the hook, then paint only those.
- Finish around the face, where the lightness shows most. I’d go a little heavier there and lighter toward the back.
8. Watch Processing Time
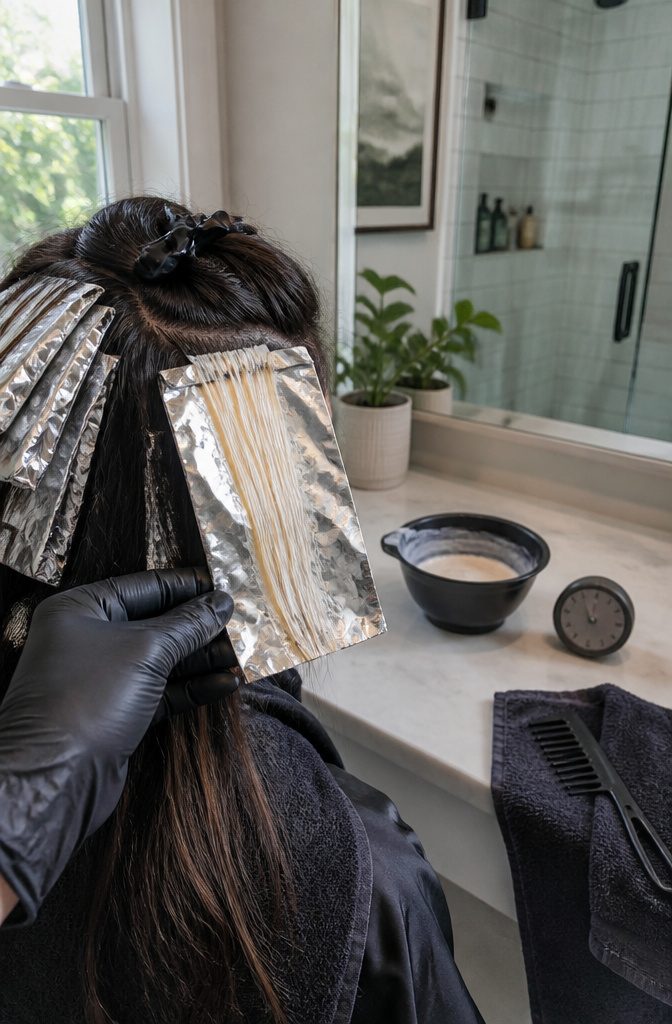
Follow the kit directions and set a timer. Every bleaching kit lists its own processing window, and those minutes matter more than you think.
Check a foil every five to ten minutes as you near the end of that window, especially if your hair is dark, coarse, or previously colored.
The hair should be rinsed when it reaches the color of the inside of a banana. That specific yellow is your cue: wait longer and you risk over-processing, which eats shine and invites damage.
I know it’s tempting to leave it on an extra few minutes in hopes of getting closer to Pinterest balayage, but the product you’re using at home won’t deliver the same high-contrast result a salon formula will.
Rinse at banana yellow and plan to tone afterward rather than pushing the lightener past safe territory.
9. Rinse and Tone
Rinse and Tone
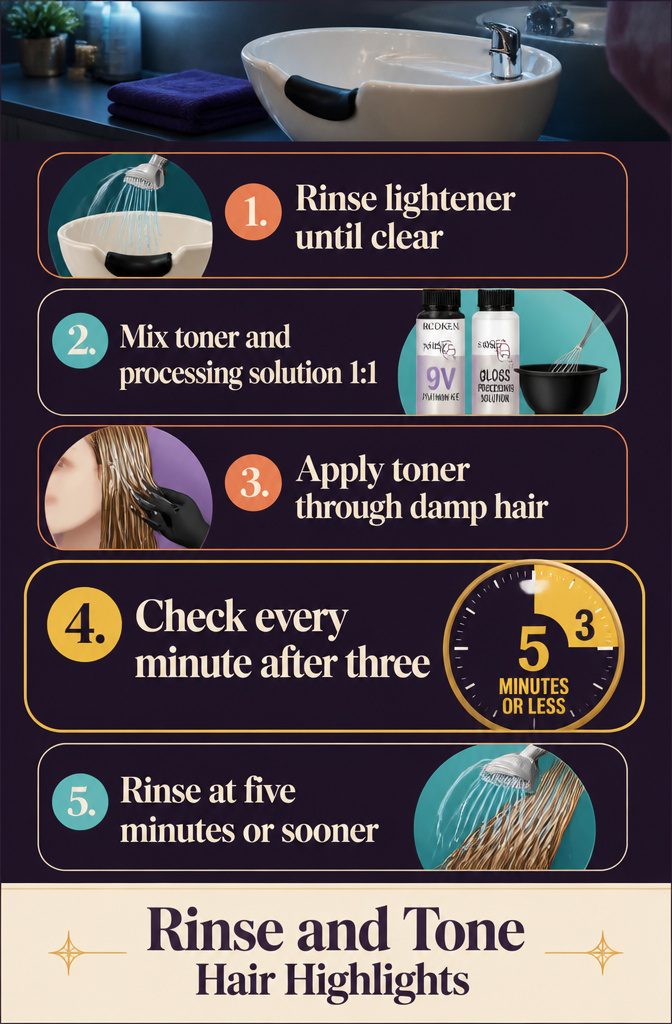
- Rinse out the lightener under cool water until it runs clear, then shampoo once to remove any remaining product.
- Mix your toner. For very light, ashy blonde I use Redken Shades EQ 9V Platinum Ice mixed 1:1 with Shades EQ Gloss Processing Solution, 2 oz of each or 1 oz each if you have less hair. If you want ashy tones on darker blonde, try the same toner in 8V or 7V instead.
- Apply the toner evenly through damp hair, working it through the highlighted sections.
- Watch the clock closely. Toner sits five minutes or less. Check every minute after three to avoid a purple result.
- Rinse thoroughly when the warmth is gone or just before.
If your highlights turned brassy or yellow, L’Oréal Paris Féria Power Toner can reduce unwanted warmth in as little as five minutes.
The right toner refines undertone for a brighter finish and keeps darker bases from looking overly warm.
10. Dry and Assess
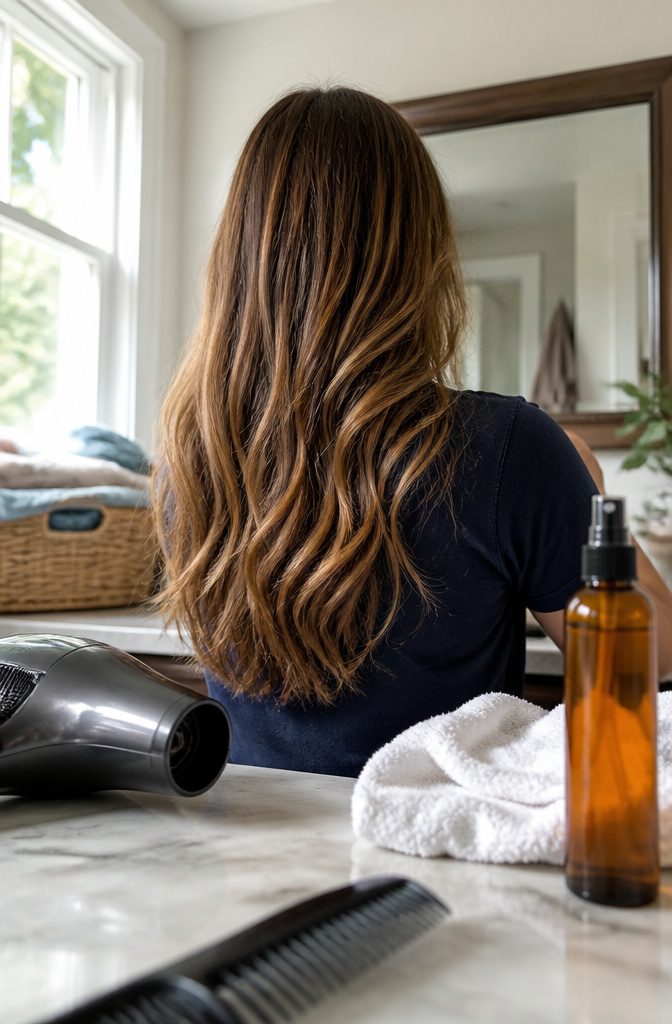
Squeeze the excess water out with your hands or a towel, then blow-dry or air-dry.
Wet strands read darker and hide patchiness, so wait until your hair is completely dry before you judge how your hair highlights at home turned out.
If you reach for a dryer, apply a color-safe heat protectant first, such as the L’Oréal Paris EverPure Sulfate-Free Moisture 21-in-1 Leave-In Conditioner.
A cool shot at the end adds shine, and a drop of lightweight oil or serum on the mid-lengths and ends smooths the finish.
If the color looks uneven or off, I’d book a stylist for color correction rather than lightening again yourself. A second round on freshly lightened hair usually makes the problem harder to fix.
Know Your Limit at Home
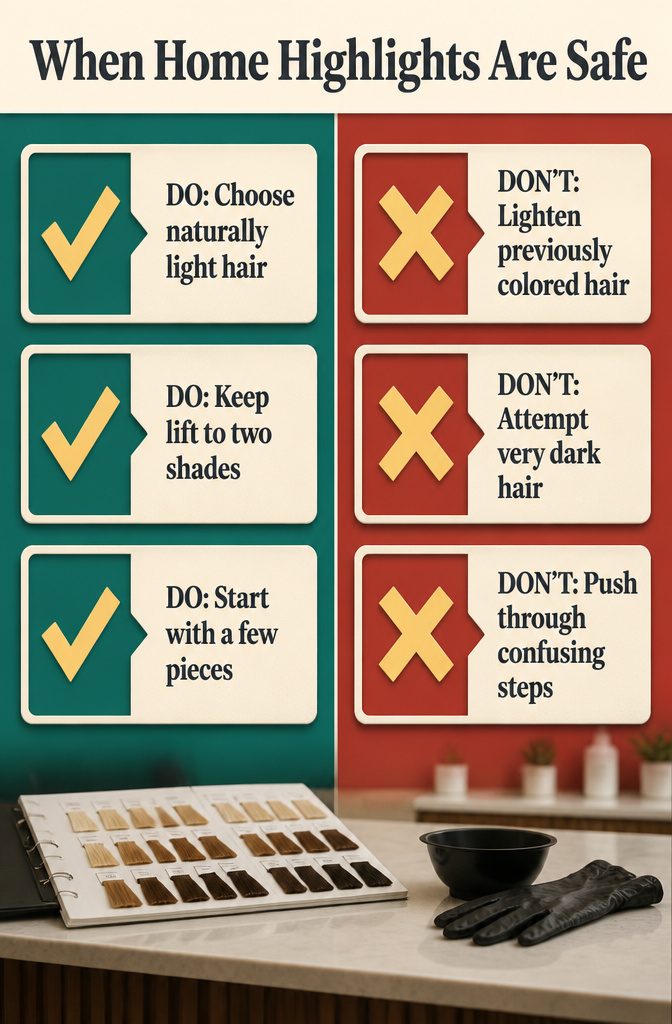
Hair highlights at home are for subtle dimension, not a new hair color. L’Oréal Paris draws the line at about two shades of lift, and very dark or previously colored hair also belongs with a pro.
Leftover artificial color can turn orange under lightener, so naturally light brown to blonde, never colored is where a box works best.
Colorist Ess is blunt about the stakes:
"Don’t do anything that seems confusing or difficult. Bleach is no joke, and you don’t want to end up spending hundreds of dollars for a professional to fix it."
— Allure
For a first round, I’d keep it to a few pieces. Adding more later is easy; undoing a mistake is not.
Limit the Damage
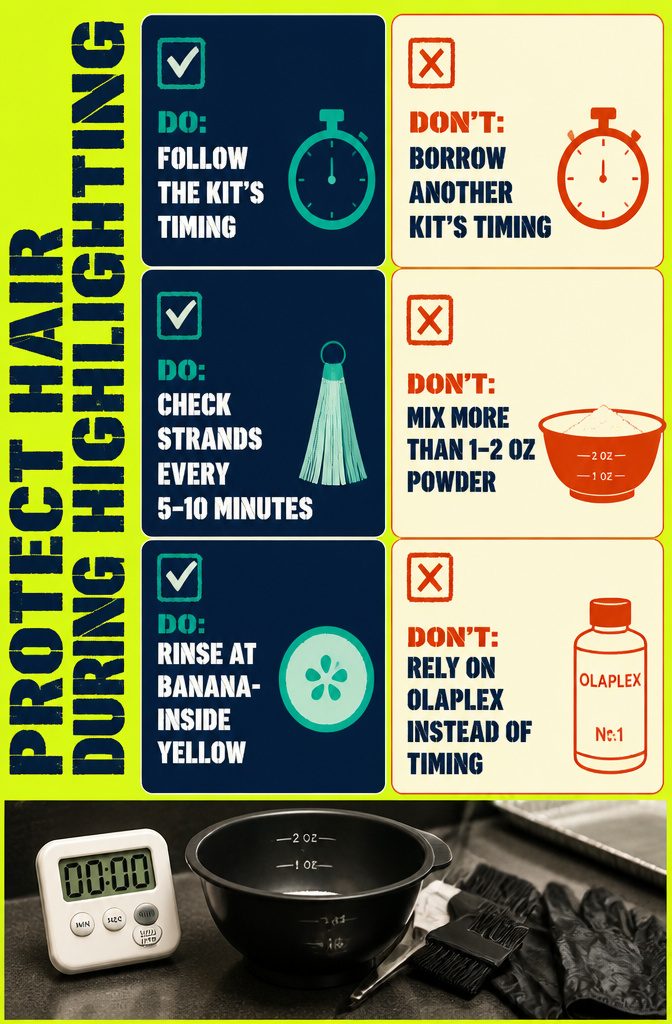
Over-processing is what wrecks hair, and a few habits prevent most of it:
- Follow the kit’s printed timing and set a timer. Developer strength and ratio differ from box to box, so don’t borrow times from another kit.
- Check a strand every 5–10 minutes. On dark, coarse or previously colored hair, check every 5 minutes near the end.
- Rinse when the lightened strand looks like the inside of a banana, even if you wanted more lift.
- For an Olaplex No. 1 mix, stir 1/8 oz into 1 oz of lightening powder, then add developer. Mix only 1–2 oz of powder at a time so it doesn’t puff up in the bowl.
- Olaplex helps, but I’d treat it as optional. Highlights work without it if you watch the clock.
Blend the Line
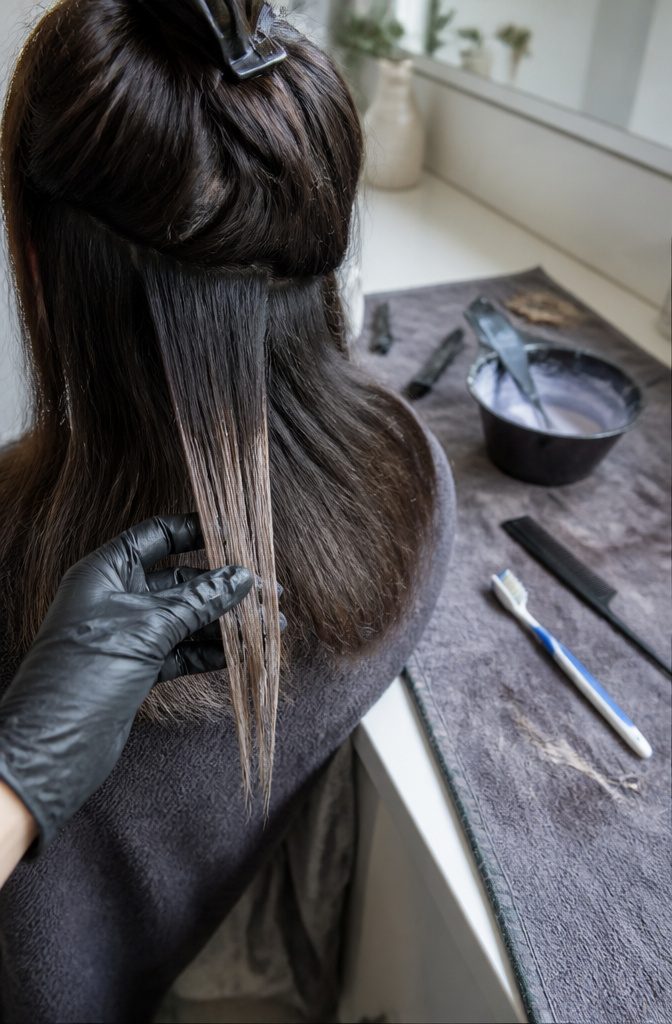
A hard line where the lightener stops gives home highlights away.
Use a separate, clean tool to soften it: a spooley or an old toothbrush. Drag it lightly through the edge of the color so the border feathers out instead of ending in a stripe.
Teasing before you paint does the same job from the other direction. Take ¼-inch sections and tease from the top of the mid-shaft up to the root, then apply color only to the untouched length from mid-shaft to ends.
The teased hair holds the product back, so the color lands soft and diffused rather than piled up in heavy spots.
I’d do both: tease first, then blend the edge with the brush.
Ask a Colorist to Guide You
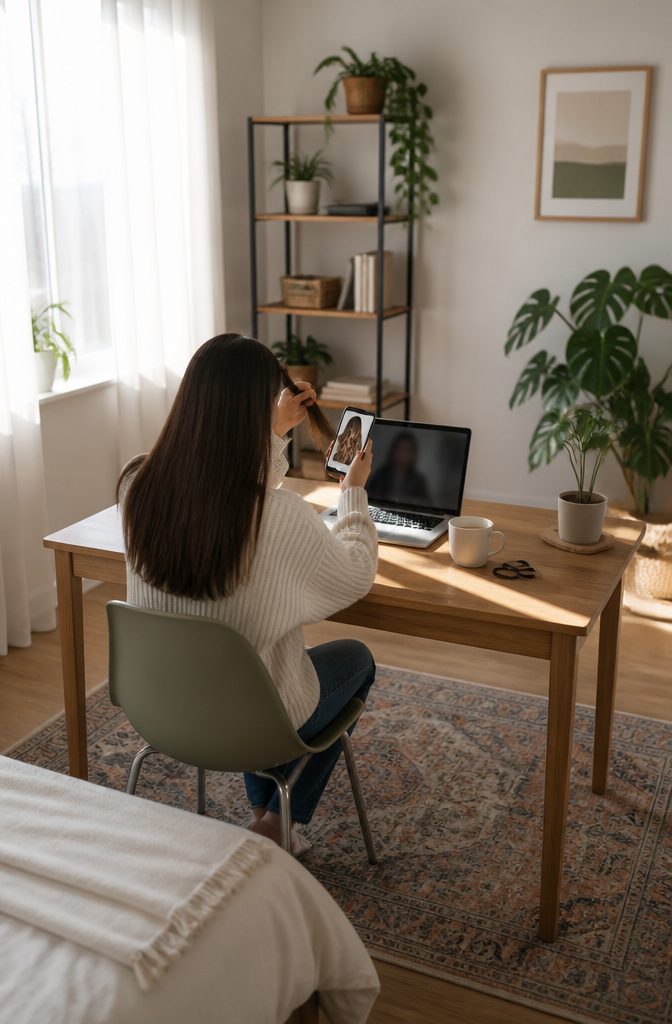
A virtual appointment works like a fitting before the fabric is cut. Show the colorist your hair in natural light, clean and unstyled, next to the photo you saved.
They can tell you whether your base will lift to that shade or pull brassy, which lightener and developer suit your texture, and where to place the first pieces so they frame your face.
Ask them to watch you section and paint on camera if they offer it. A second pair of eyes catches a crooked part or a heavy hand early.
Book the call before you buy the kit, since the advice may change what goes in your cart. I’d call it the cheapest insurance in the whole project.
Keep the Tone
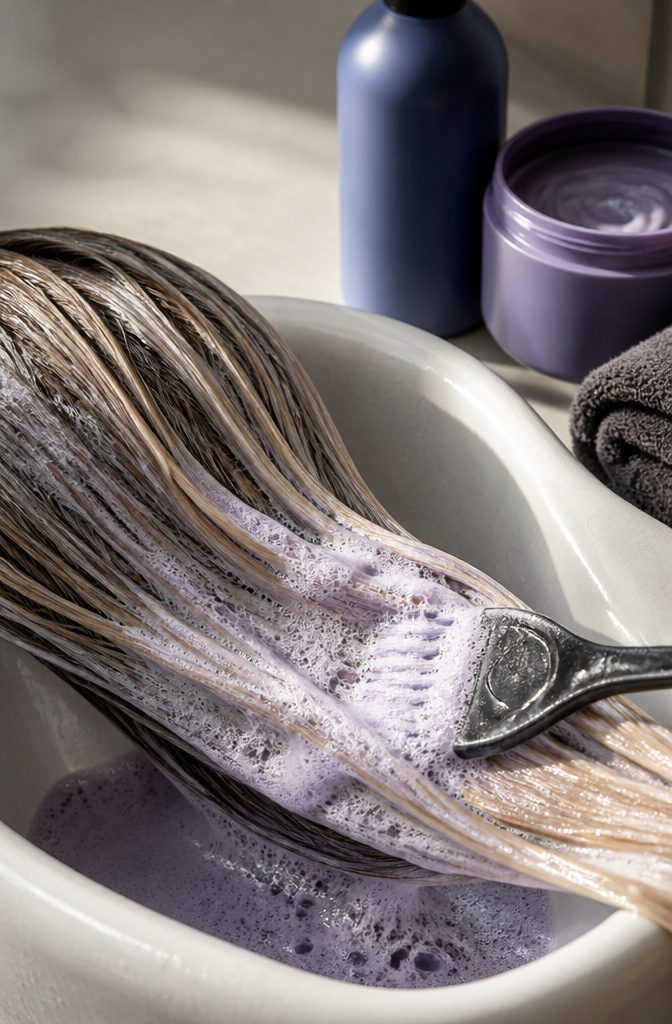
Purple pigment cancels gold and yellow, so upkeep is mostly a rotation of purple and blue products.
- Purple shampoo, used once a week after toning, keeps hair ashy. Shimmer Lights Purple Shampoo is where I’d start.
- Already happy with how the highlights pulled? Use purple shampoo like a regular toner, then keep it going through the month.
- EverPure Sulfate Free Purple Shampoo is the swap if you want to skip sulfates.
- Anti-Brass Purple Mask is stronger, so use it no more than once a week.
- Blue or purple toning conditioners keep cancelling brass between shampoos with less effort.
- An at-home gloss resets the tone when brass creeps back despite all of the above.
Aftercare Beyond Toner
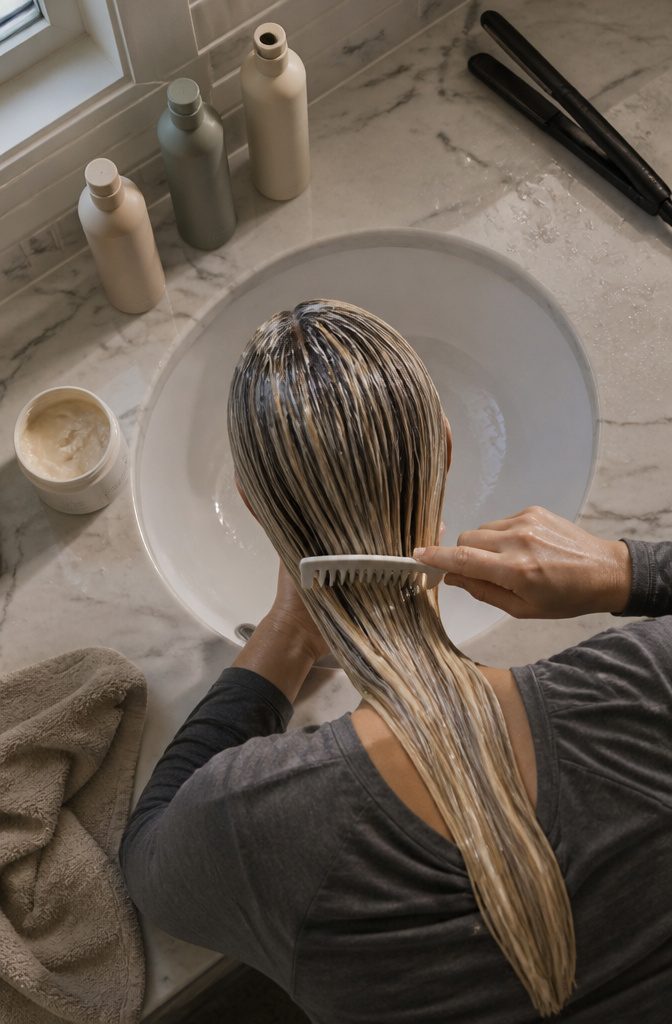
Fresh highlights leave hair weaker, and the routine after toner decides how they age. Once the toner is rinsed, work Olaplex No. 2 from roots to ends, comb it through, and leave it on a minimum of 10–20 minutes.
Previously damaged hair can soak longer. After that, use Olaplex No. 3 once a week like a deep conditioner: 10 minutes on damp hair, then rinse.
The L’Oréal Paris EverPure Bond Repair system covers similar ground with a pre-shampoo treatment, shampoo and conditioner made to work together.
Whichever you pick, swap your regular conditioner for a deep treatment once or twice a week, and give the flat iron a rest while the highlights recover.