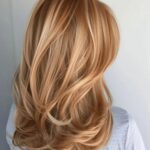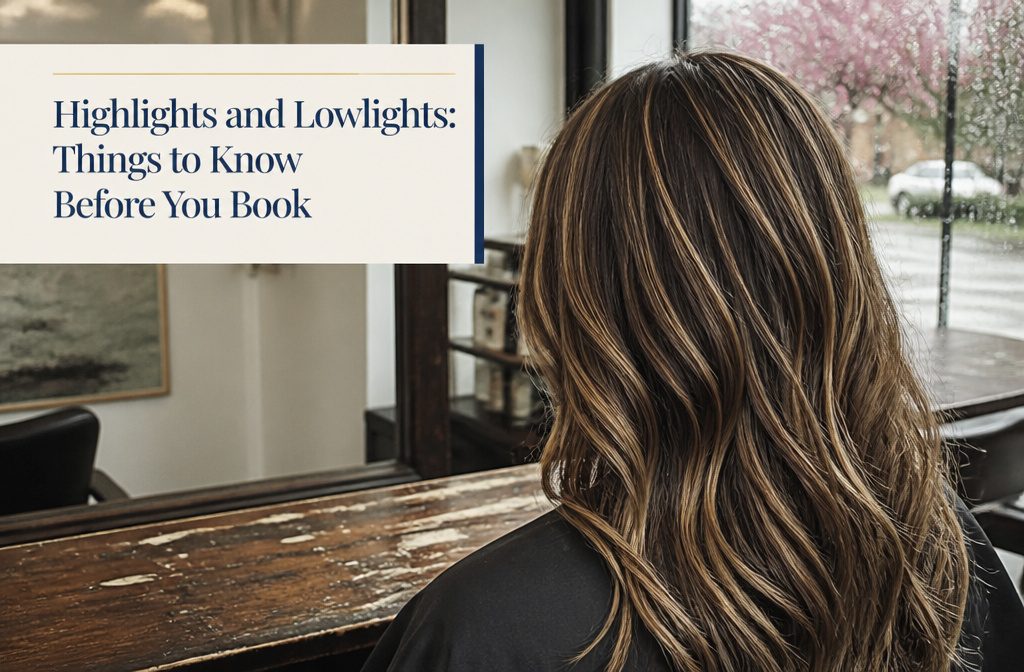
Highlights are lighter pieces of color and lowlights are darker ones, both woven through your natural base so your own shade still shows between them.
The catch: stray past 2–3 shades from that base and dimension turns to stripes. Foil highlights also need a touch-up every 4–6 weeks.
1. 2 to 3 Shades From Your Base
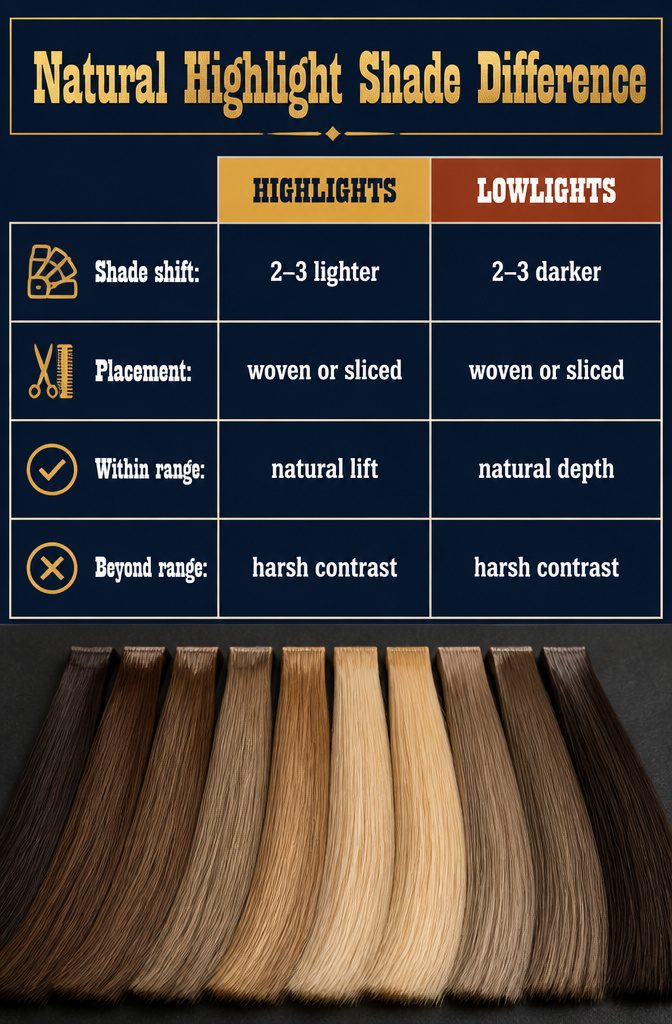
The difference between a subtle lift and a look that reads as striped comes down to two to three shades. Highlights land about two to three shades lighter than your base color, lowlights about two to three shades darker.
Stay within that range and the result looks intentional but natural. Push past it and you start to see contrast that looks harsh instead of dimensional.
A stylist who keeps the gap narrow gets dimension without announcing itself. The woven or sliced sections blend into your base rather than sitting on top of it.
Go four or five shades away and the color stops reading as movement and starts reading as stripes. That gap is where the technique matters most, and it’s the first thing a colorist checks before lifting the foil.
2. Brightness Versus Depth
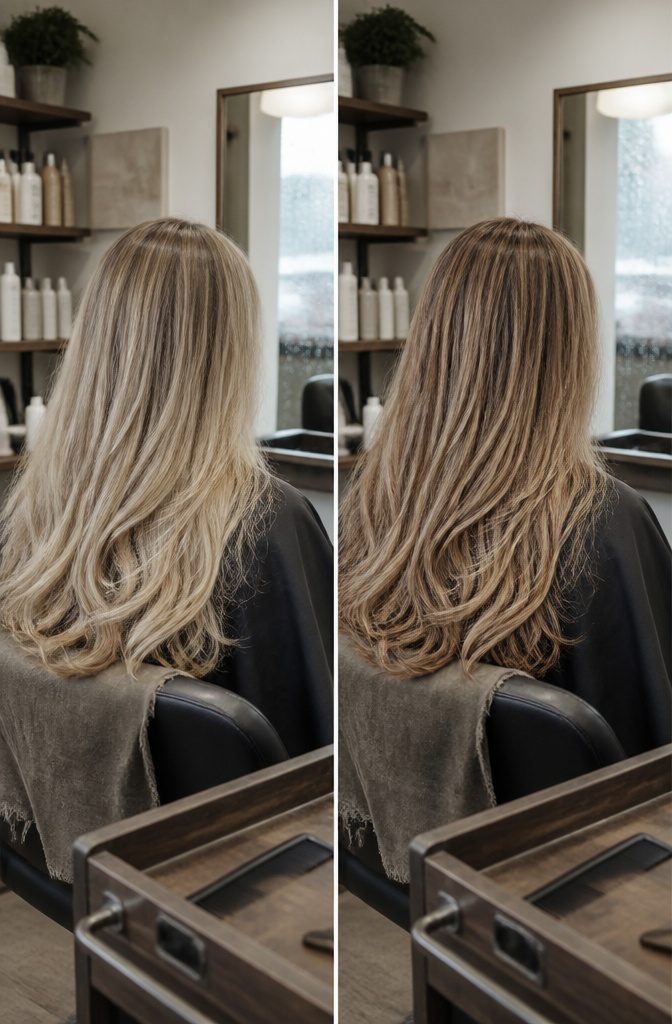
Highlights brighten and add a sun-kissed glow, lifting sections two to three shades lighter than your natural base.
The effect is what you see when you want more light, more movement, or a way to wake up hair that looks flat.
Lowlights go the other way: darker tones that create depth and richness, and because they add shadow where highlights add sun, they make hair look fuller. Think of it as the difference between adding brightness and adding weight.
Both change what the eye reads as dimension, but the goal decides which one you need. This is about the visual effect, not the method a colorist uses to get there.
Blondes after a brighter, more dimensional look reach for highlights; blondes wanting more body or contrast bring in lowlights a few shades darker, often caramel or toffee. Brunettes can go either way, brighter for lift or deeper for richness.
3. Foils, Balayage and Painting
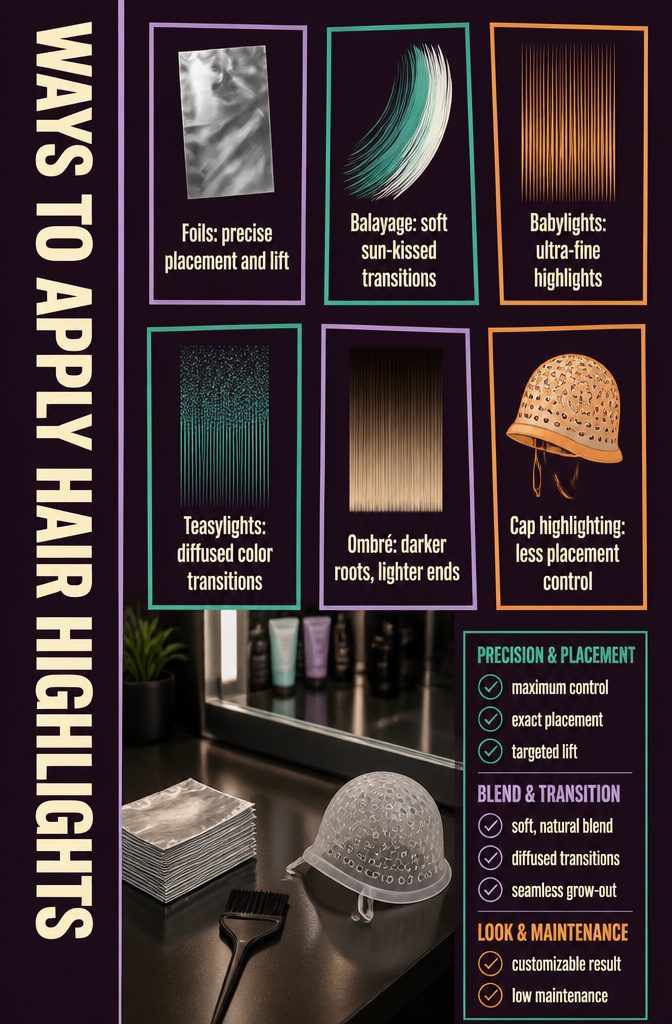
The method matters as much as the color itself, and foil highlights still give the most control over placement and lift. Here are the main routes:
- Foil highlights: Woven or sliced sections are wrapped in foil for precise placement and controlled color lift. The classic approach when you want to place strands exactly where you want them, typically two to three shades lighter than your base.
- Balayage: Freehand painting that mimics natural sun-kissed lightening. The transitions between colors are softer and blend more smoothly than foiled sections, with no hard lines as the color grows out.
- Babylights: Ultra-fine, barely-there highlights that add dimension without announcing themselves. A more delicate variation on foiling.
- Teasylights: Sections are teased before color is applied, creating a softer, more diffused transition than straight painting or foiling.
- Ombré and shadow root: Ombré transitions gradually from darker roots to lighter ends. Shadow root keeps depth at the base for a lived-in look that needs less frequent touch-ups.
- Cap highlighting: An older method where strands are pulled through a perforated cap. Less control than foils, less common in salons now.
These methods are not interchangeable.
Strand-by-strand application gives a glowy, natural effect; larger panels create a bolder, chunkier look. Pick based on how much precision you need and how soft you want the result to read.
4. Matching the Look You Want
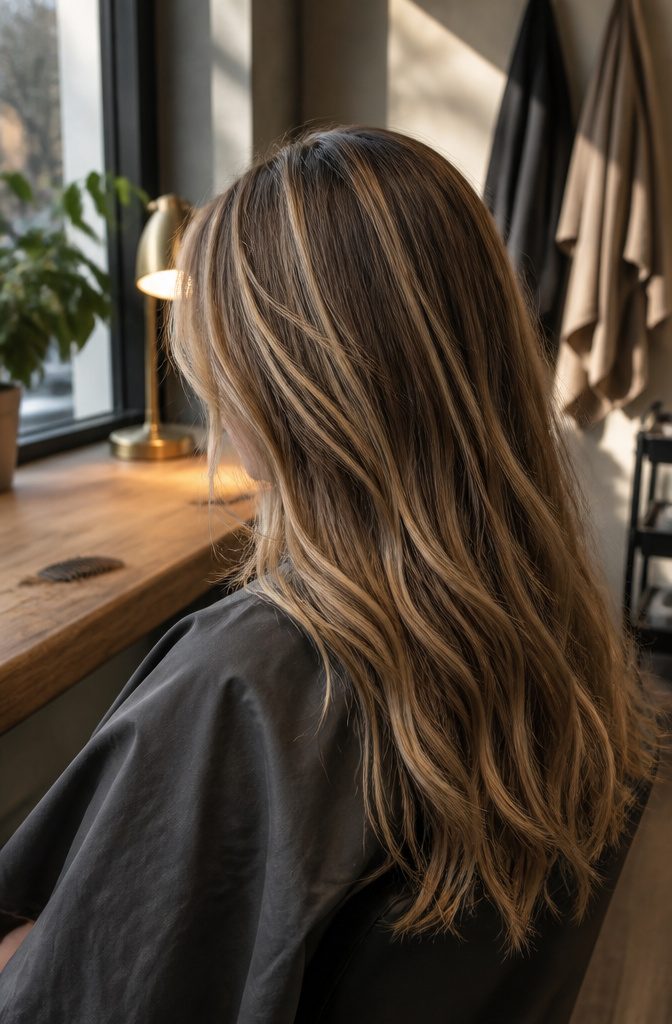
Highlights suit a brighter, more radiant look, the kind you get from summer sun.
Lowlights add depth and richness, which makes them the natural pick when you want something subtle or need to tone down highlights that have gone too bright or started to look drab.
If old highlights have faded to an in-between color that feels flat, lowlights bring back dimension without committing to a whole new base.
The seasonal habit is real.
I see the pattern every year: highlights in summer for that sun-kissed glow, lowlights in winter for a richer, cozier feel. It tracks with how light changes and what looks good against it.
Face-framing highlights are the conservative, economical way to try color for the first time.
You get brightness where it matters most without the upkeep or cost of a full head, and if you don’t love it, you can let it grow out without much fuss.
5. Upkeep and Touch-Ups
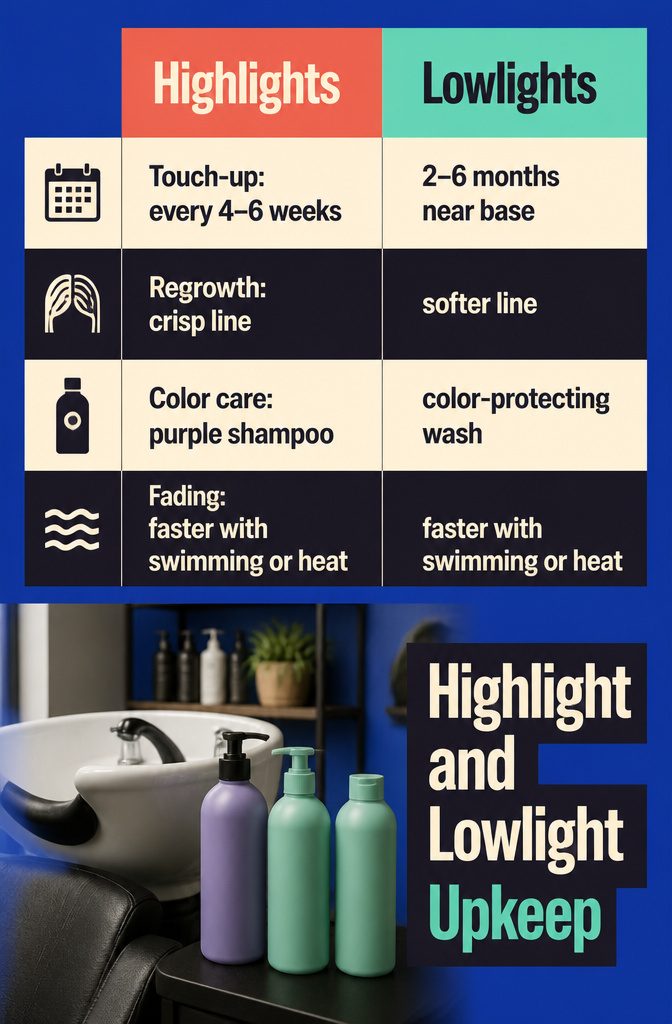
Foil highlights are the high-commitment choice: plan on a touch-up every 4–6 weeks to keep them crisp. Highlights generally need refreshing more often than lowlights, and the softer regrowth lines on lowlights let you stretch the time between visits.
Staying close to your base color stretches it further, anywhere from 2 to 6 months. Subtle shades grow out more naturally, so for a low-maintenance routine I’d choose them over high contrast every time.
Products split the same way. Highlights drift brassy, and purple shampoo is the fix.
Lowlights call for color-protecting shampoo and conditioner to hold their depth. Frequent swimmers and heavy heat stylists should expect faster fading with either.
6. Choosing Safely and Well
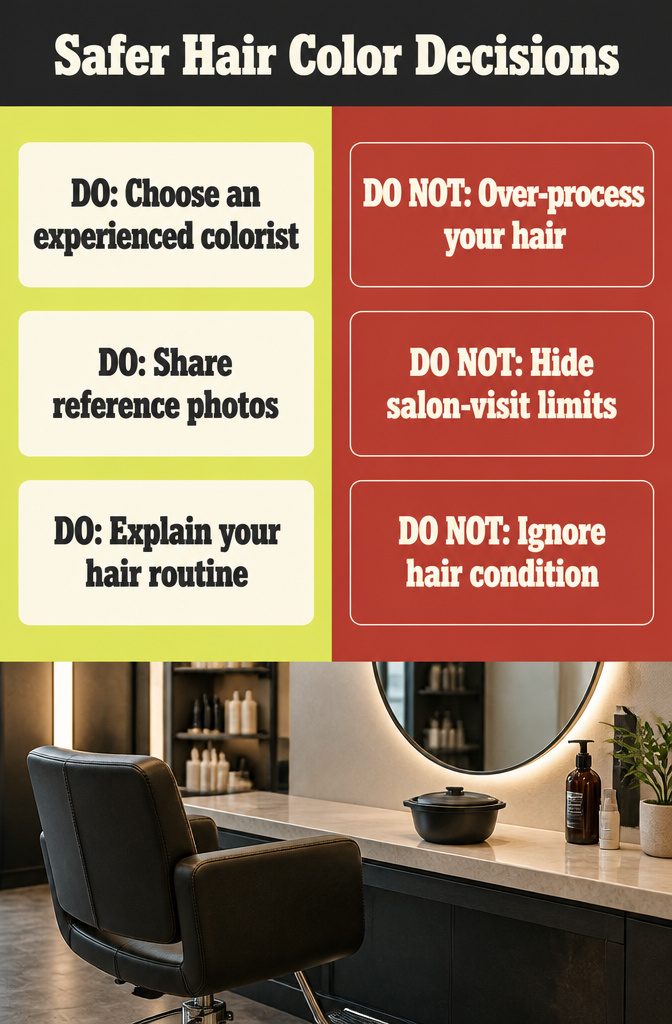
Wrong streak thickness, tone or shade can spoil highlights and lowlights, and over-processing is the mistake that lingers: harsh or repeated color leaves hair dry and prone to breakage. That alone justifies an experienced colorist.
The appointment runs in four stages: consultation, foiling or balayage, processing time, then rinse and styling.
Most of the deciding happens in the first, where the stylist weighs your base color, skin tone, eye color, hair condition and lifestyle against the result you want.
Bring reference photos and be candid about your routine.
If you rarely style your hair or can’t get back to the salon often, say so. A subtle shade that grows out gently suits that life better.
The Basic Difference
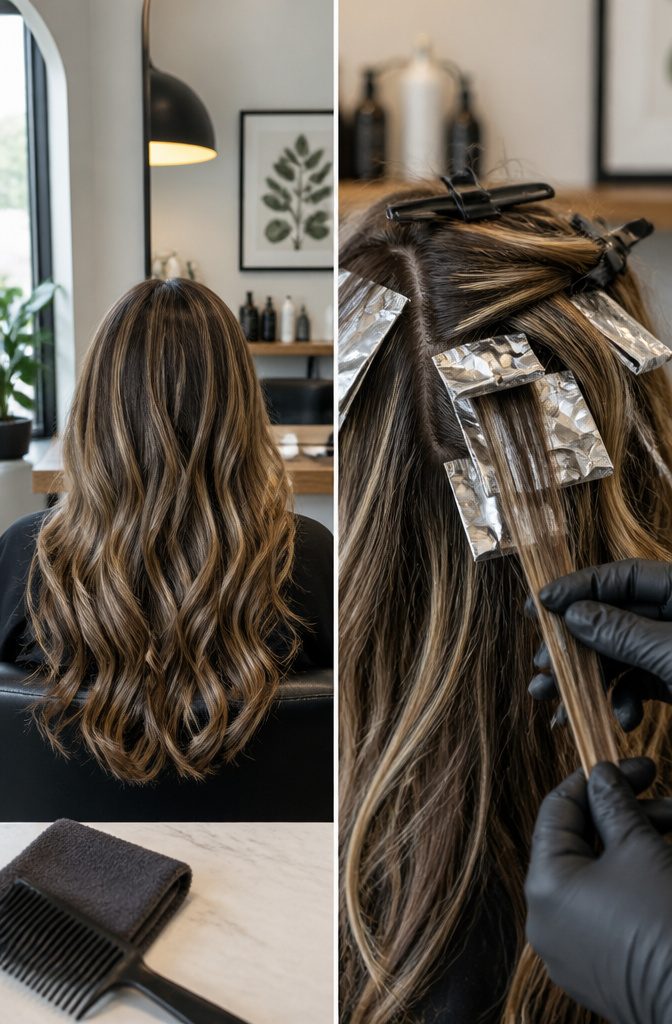
Hair color has two kinds of contrast, and each has a name. Highlights are lighter pieces, and lowlights are darker pieces, both set against your natural base.
Neither covers the whole head. The color goes on selected strands, so your own shade still shows between them.
Weave the two through that base and the hair gains dimension without a full color change.
For anyone nervous about committing to one new shade, that’s the appeal I’d point to first: you keep your color and add variation to it.
Salon menus use a lot of jargon, but most of it describes how these two kinds of pieces are placed.
Pick by Starting Color
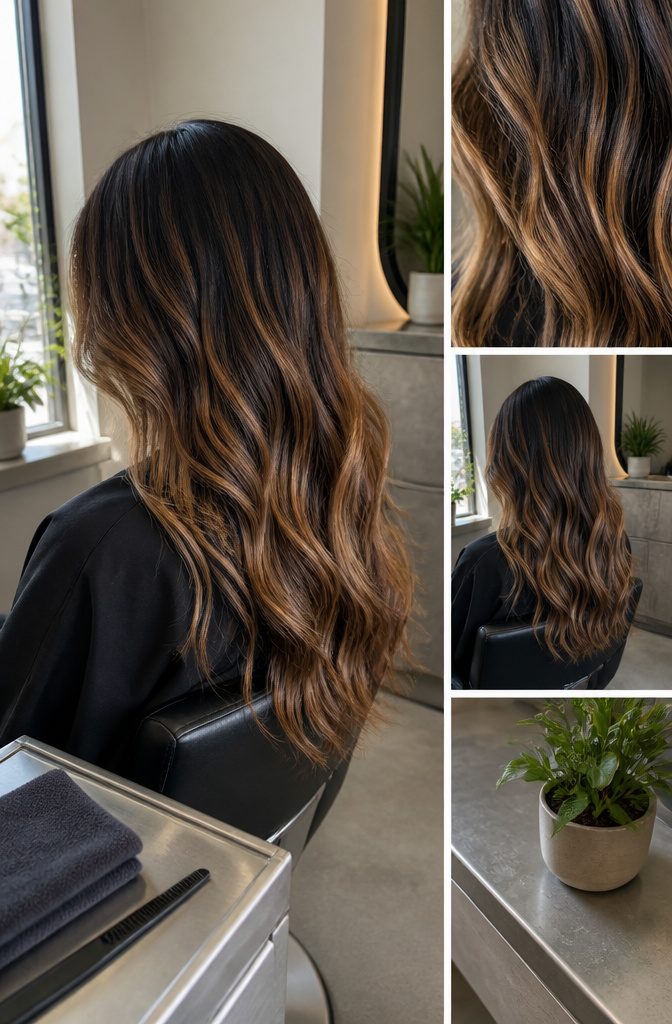
My picks, by base color:
- Blonde: honey, golden or caramel highlights. For contrast against warm caramel or honey, go cool ash or platinum. Platinum can look harsh, so ask for medium blonde woven through it.
- Dark brown: caramel or bright auburn, started a little off the scalp so the grow-out blends.
- Dark red: copper blonde highlights.
- Light red: dark red lowlights tone down brassiness. Strawberry blonde highlights also work.
- Lowlights: toffee or caramel on blondes, mocha or chestnut on brunettes. Bronze or burgundy if you want drama.
- Gray: one stylist suggests heavy platinum highlighting if you can carry a very light color. That’s one author’s view, and I’d try it only if you love light hair.
Using Both Together
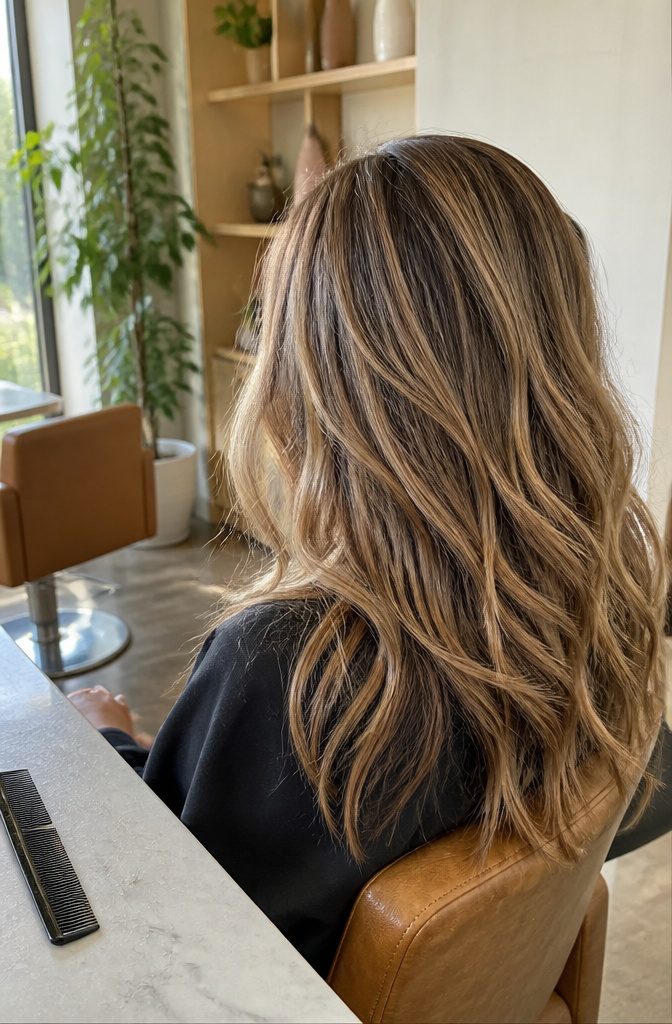
Highlights are the sunlight and lowlights the shadow, and weaving both through the same head gives a blended, multidimensional result that neither delivers alone.
It suits anyone who wants dimension without a big lightening: the lighter pieces add brightness, the darker ones add depth and richness.
This is also my pick for tired highlights. When old brightening has gone overly light or flat, slipping lowlights in between the pieces brings back depth without a full redo.
Keep both kinds within 2–3 shades of your base, lighter and darker alike, so the mix reads as natural instead of striped. You can also tilt it by season: more light in summer, more depth in winter.
Frequently Asked Questions
What’s the difference between highlights and lowlights?
Highlights are lighter pieces that brighten hair, and lowlights are darker pieces that add depth and richness.
Highlights sit about 2–3 shades lighter than your base and lowlights about 2–3 shades darker. Both go on selected strands, so your natural color still shows between them.
Should I get highlights or lowlights?
Choose highlights for a brighter, sun-kissed look and lowlights for more depth or a subtler change.
Lowlights are also the fix when older highlights have faded flat or gone too light. If you want both effects, you can ask for them together.
Should I do highlights and lowlights at the same time?
Yes, if you want dimension without a big lightening.
Weaving both through the same head gives a blended, multidimensional result that neither delivers alone. Keep both within 2–3 shades of your base so the mix looks natural instead of striped.
What shade is best for me?
It depends on your base color, skin tone, eye color, hair condition and lifestyle, so settle it with a stylist during the consultation.
As a starting point, blondes tend to look good in honey, golden or caramel highlights, and dark brunettes in caramel or bright auburn started a little off the scalp.
Bring reference photos and be honest about how much upkeep you’ll do.
How often should I get touch-ups for highlights and lowlights?
Foil highlights need a touch-up every 4–6 weeks to stay crisp.
Highlights generally need refreshing more often than lowlights, whose softer regrowth lines let you stretch the time between visits. Shades close to your base color last longer, anywhere from 2 to 6 months.
How do I maintain highlights and lowlights?
Use purple shampoo on highlights to keep brassiness in check, and color-protecting shampoo and conditioner on lowlights to hold their depth. Frequent swimming and heavy heat styling fade either one faster, so plan for that if it describes your routine.