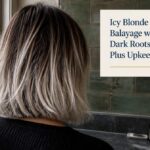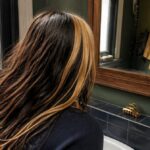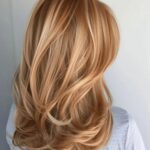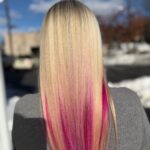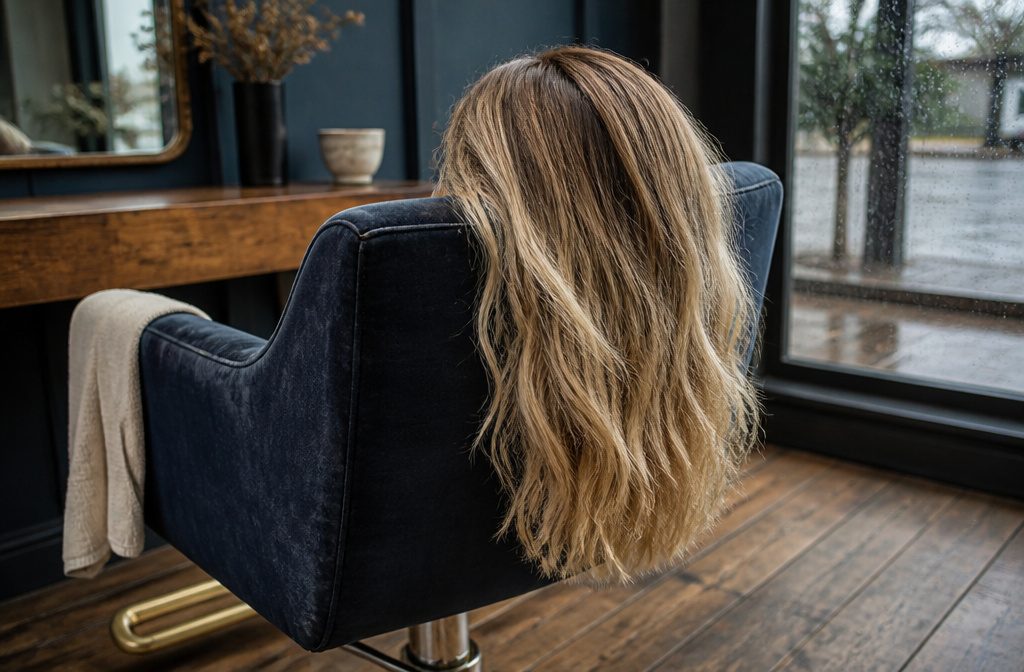
Lived-in color keeps roots deeper and brightens the mid-lengths and ends, so regrowth never shows as a stripe.
The first appointment is the cost: 4 to 6 hours, and your natural base color decides how light it reads. After that, touch-ups stretch to every 12–16 weeks instead of six.
What Lived-In Highlights Look Like
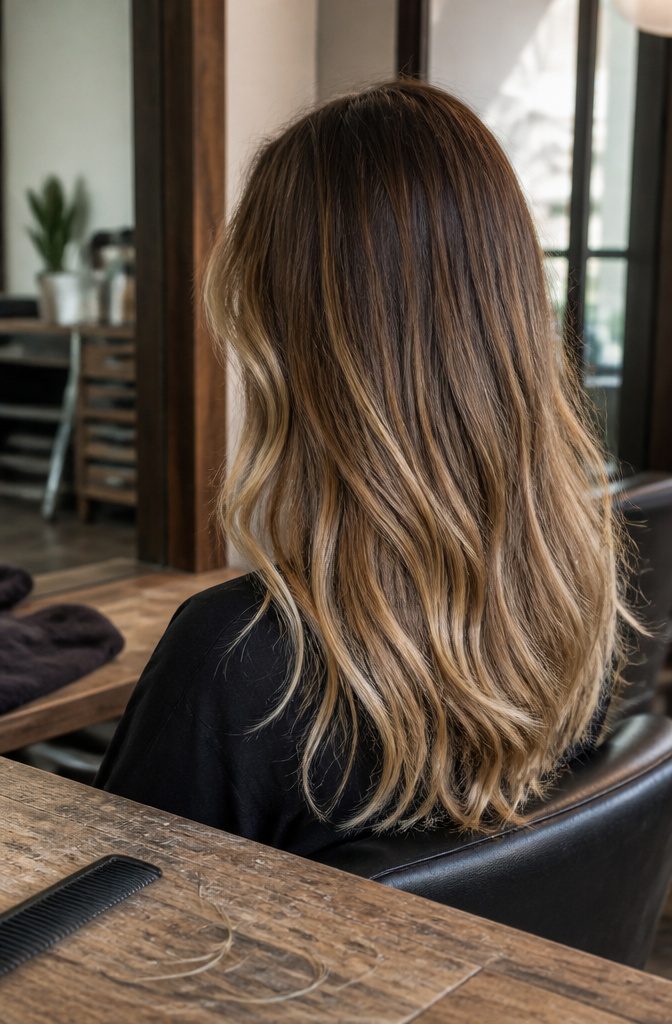
Lived-in highlights are the color result where darker or muted roots blend gradually into brighter lengths with no harsh line between them.
The look reads as sun-kissed, the way hair lightens naturally over a summer rather than in a single salon session.
Your root area stays deeper or more neutral, transitioning softly into lighter pieces as it moves toward the mid-lengths and ends.
What makes it "lived-in" is the seamless finish, not one fixed technique. Placement follows where the sun would naturally hit: face frame, crown, and ends get the lightest pieces, while depth stays underneath and at the nape.
The result mimics how a child’s hair highlights on its own, and as your natural color grows in, it continues to blend rather than creating a visible line of demarcation.
How Stylists Create the Blended Root and Placement
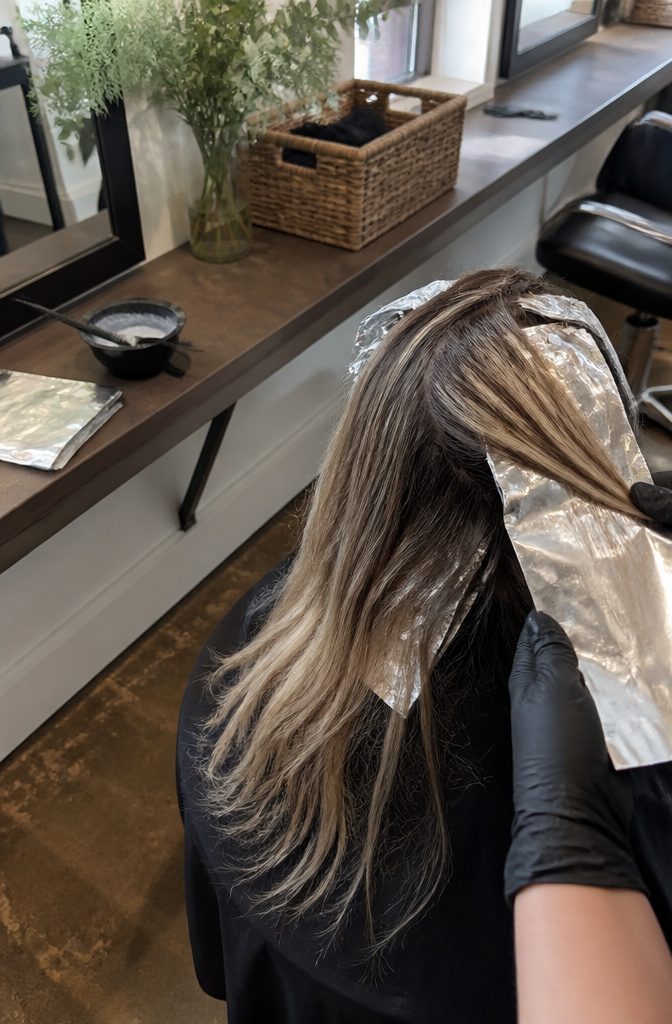
The placement and finish matter more than the name of the technique. Most stylists combine methods to get there.
Balayage might paint the base gradient, then foils add brightness where you want bold face-framing pieces. Babylights soften the overall effect with finer weaving, and teasylights use backcombing to diffuse the line even further.
Root smudging or melting comes after the lightener processes, blending a darker tone into the roots so there’s no harsh starting point. Toning ties it all together into a cohesive shade.
I think of it as strategic placement rather than one technique doing all the work. The lightest pieces sit where sunlight would actually hit: face frame, crown, ends.
Depth stays underneath, at the nape, and through the root zone. That contrast is what reads as natural rather than fresh-from-the-chair.
Some stylists use all slices for more coverage, others stick to weaving for a softer result. The goal is the same either way: a gradient that looks like it grew in over time, not like it was applied in sections.
How Lived-In Color Differs From Balayage and Traditional Highlights
Lived-in color is a look, not a technique. Balayage, on the other hand, is a method—hand-painting lightener or color onto hair in sweeping motions, the name coming from the French word meaning "to sweep" or "to paint or sweep."
You can use balayage to achieve lived-in color, but you can also get there with foils, teasylights, or a mix of methods.
What makes it lived-in is the placement and how the color blends into your natural base, not the tool your stylist uses to get you there.
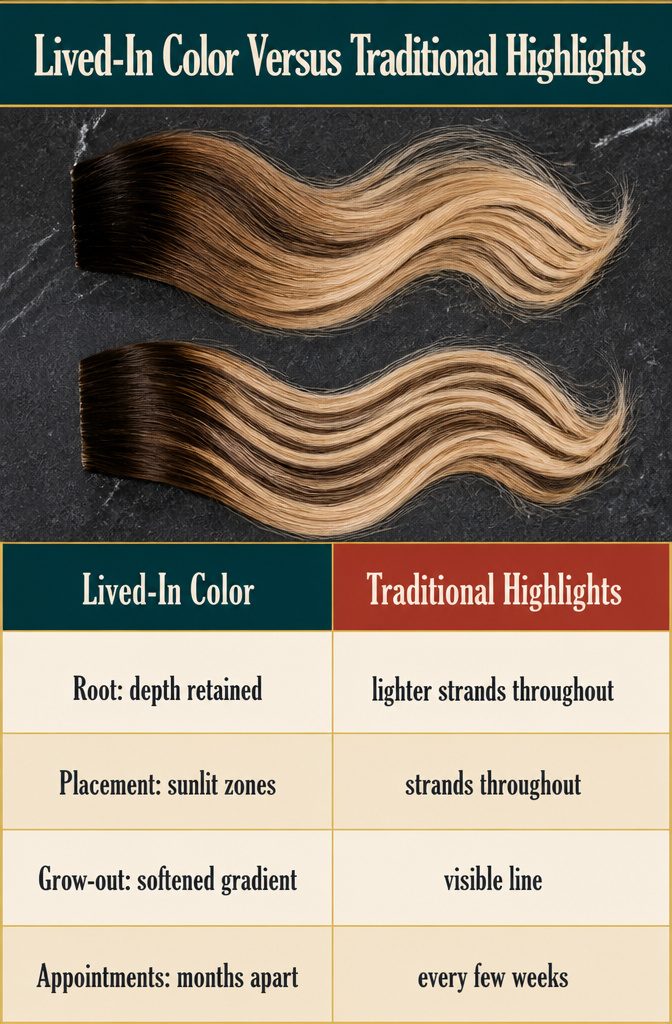
Traditional highlights create contrast with lighter strands placed throughout, and they grow out with a visible line that needs touch-ups every few weeks.
Lived-in color, by comparison, keeps depth at the root and places the brightest pieces where sun would naturally hit—face frame, crown, ends—so the grow-out reads as intentional rather than overdue.
The gradient softens any demarcation line, which is why it stretches to months between appointments instead of weeks.
Some sources describe ombré as part of the lived-in family; others separate it out.
The line blurs because stylists use these terms differently. What holds across all of them is that lived-in color mimics natural hair that has been lightened over time, not color that looks fresh from the chair.
Who This Color Suits and How Base Color Affects the Result
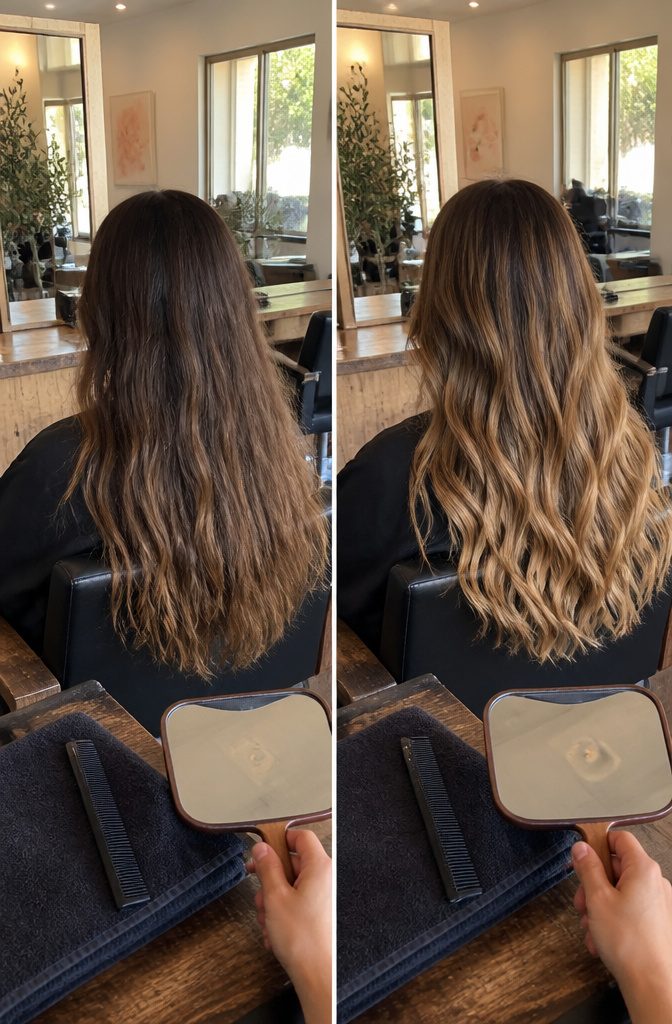
Lived-in highlights adapt to almost any starting base color, though your natural shade shapes what the final result will actually look like.
If you’re a natural brunette, lived-in blonde reads differently than it does on someone with a light brown base. Your stylist should talk through that during the consultation so you know what to expect before the first appointment.
The technique works on straight hair, beachy waves, and curls. It’s flexible enough to suit first-time blondes who want a natural starting point and anyone looking to stretch appointments out to every 12 to 16 weeks instead of every six.
Dark brown roots with sun-kissed highlights give you a beachy look, the gradual shift from dark to golden mimicking what the sun does naturally.
Ash blonde balayage brings in cool, ashy tones for a multi-dimensional finish. Honey blonde balayage blends honey and golden shades for a warm glow, and face-framing highlights brighten your face.
Darker-haired clients can use the same approach to get lighter, sun-kissed ends while keeping their dark dimension.
How Long Between Touch-Ups and What to Expect
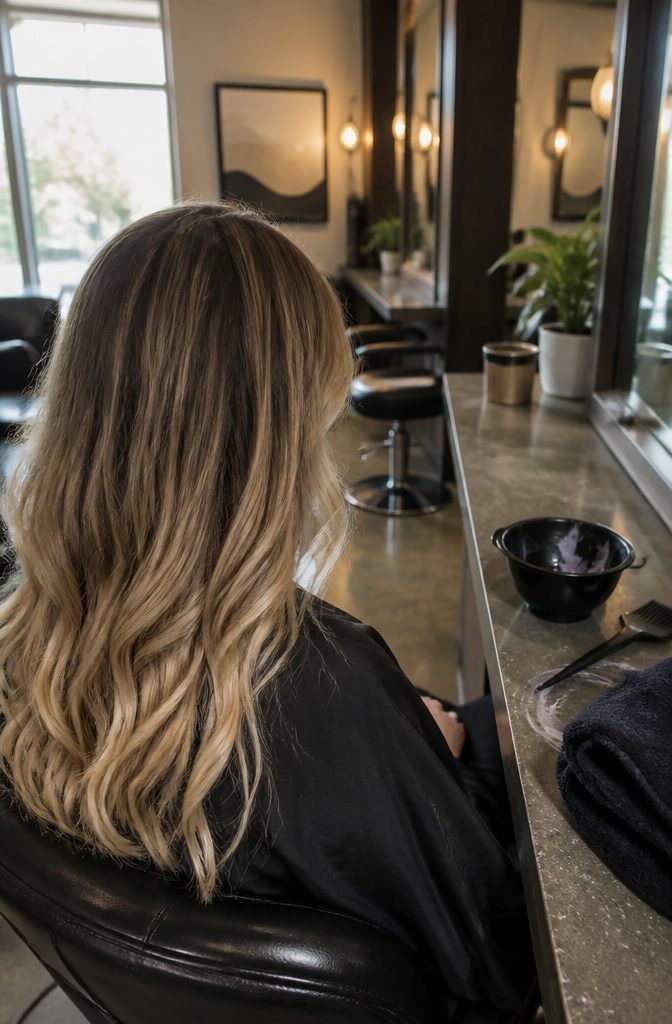
The blended root is what makes the schedule work. Because regrowth doesn’t announce itself the way it does with traditional highlights, you can stretch appointments to every 12–16 weeks instead of every six.
Some stylists quote 10–16 weeks, others say the color looks good for four to six months. The range depends on how fast your hair grows and how much contrast you started with.
A toner refresh around the six-to-eight-week mark keeps the ends bright and the tone balanced without a full color session.
It takes 30–45 minutes, not the two or three hours a full balayage requires. Not everyone books it, but it does extend how long the highlights look intentional rather than faded.
If you’ve been getting highlights every six weeks and feeling chained to the chair, this is the technique that buys you back your calendar. The grow-out is the whole point.
How Long the First Appointment Takes
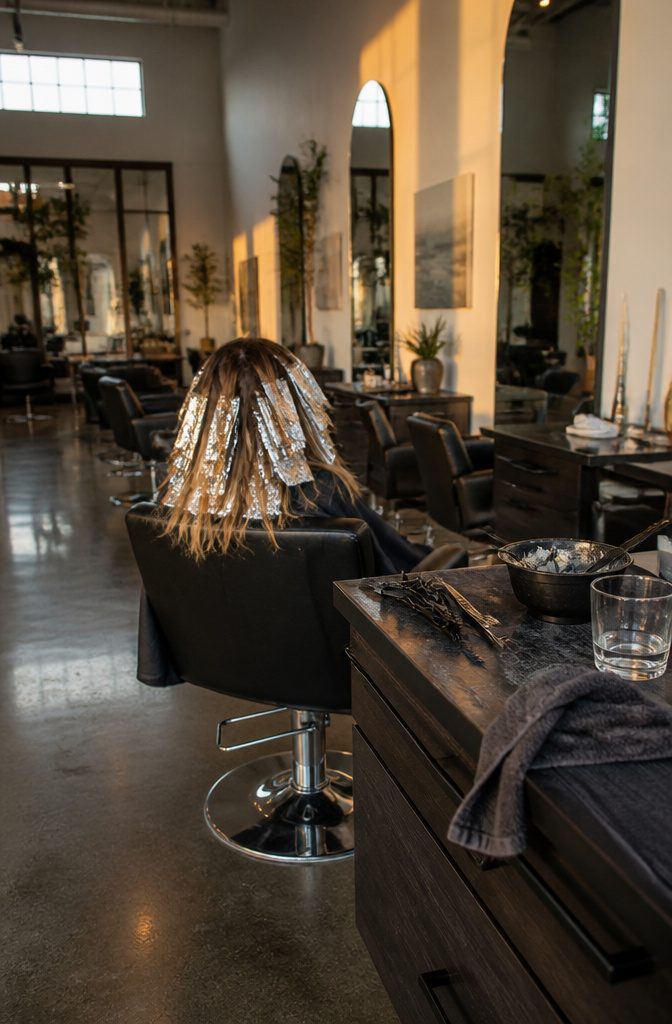
The first appointment runs 4 to 6 hours depending on hair length and thickness.
Portfolio puts it that way, and anyone who books one finds that estimate holds: stylists now place each section by hand rather than pulling through a cap, and the lightener processes without a dryer speeding it along.
Honey frames it as a contrast with past appointments that cost eighty bucks and took under two hours.
The difference isn’t just placement. Stylists now tone after lightening, a step many skipped five to ten years ago, and they often melt or smudge a darker shade near the root to soften the gradient before you leave.
Each of those steps adds time, and the appointment reflects it. If you’re used to faster highlighting, the clock will feel different.
Care That Keeps the Color and Tone Right
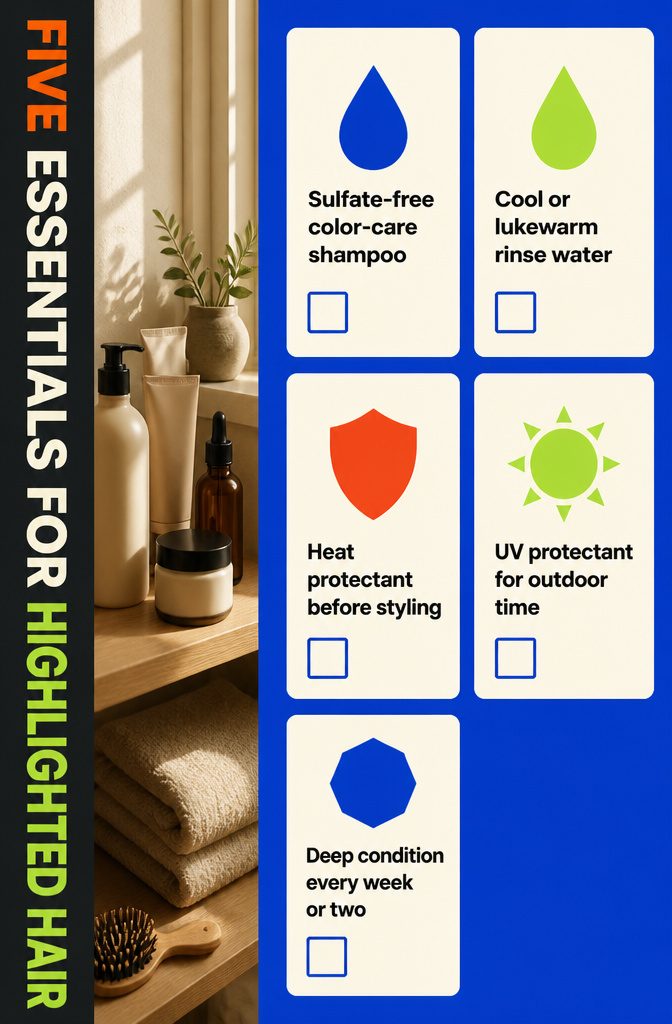
The color holds longer when you use products that treat highlighted hair gently and shield it from the things that strip tone. A short list covers most of what the color needs:
- Sulfate-free shampoo and conditioner formulated for colored hair, so you’re not washing out the vibrancy each time you rinse.
- Cool or lukewarm water instead of hot, which keeps the cuticle closed and the color locked in.
- Heat protectant before blow-drying or styling with heat, since the same temperature that sets a curl can also lift color.
- UV protectants for hair if you spend time outdoors, particularly in summer when sun exposure fades lightened pieces faster.
- Deep conditioning treatments every week or two to keep the highlighted sections from drying out or turning brassy.
The maintenance routine stays simple because lived-in color pairs best with a low-maintenance cut. You’re keeping up the same styling you already do, just with better products in the rotation.
Frequently Asked Questions
What is the difference between lived-in highlights and balayage?
Balayage is a hand-painting technique, while lived-in color is the finished look, so balayage is one way to get there.
Stylists can also use foils, teasylights, or a mix of methods. What makes color lived-in is the placement and how it blends into your natural base.
What is lived-in color?
It’s a way of coloring hair so darker or muted roots melt gradually into lighter lengths, with no hard line between them.
The result looks like hair the sun lightened over time. It’s a look rather than a single technique, and it grows out without a stripe of regrowth.
Is lived-in color the same as highlights?
Not quite. Traditional highlights add lighter strands for contrast and grow out with a visible line, which calls for touch-ups about every 6 weeks.
Lived-in color can include highlights, but it keeps depth at the root and blends the brightness in, which stretches appointments to 12–16 weeks.
How do stylists create the lived-in look?
They usually combine methods: balayage for the base gradient, foils for brighter face-framing pieces, and babylights or teasylights to soften the weave.
After the lightener processes, they smudge or melt a darker tone into the roots and finish with toner. The lightest pieces go at the face frame, crown, and ends, while depth stays at the roots and nape.
How much upkeep does lived-in color need?
Plan on a color appointment every 12–16 weeks, with an optional toner refresh around 6–8 weeks that takes 30–45 minutes.
At home, use sulfate-free shampoo and conditioner made for colored hair, rinse with cool or lukewarm water, and apply heat protectant before styling. Add UV protection in sunny months and a deep conditioning treatment every week or two.